
Equipment for recording a podcast remotely
The number of people listening to podcasts during the COVID pandemic skyrocketed. Not only were there more listeners, but more podcasts were being produced.
And, because we were all isolating, the overwhelming majority of those podcasts were recorded remotely – i.e., without the host and guest in the same room.
If you’re thinking of recording a podcast remotely, how do you do it? What equipment do you need? Well, here is a list of options I recommend.
MICROPHONE
There are so many different microphones to choose from. It can be overwhelming when you do a Google search. The more money you spend, the better the mic of course. But, some of those very pricey microphones work best in a professional recording studio — you don’t need them in your home or office. Here is just a few, affordable mics that do the job you need.

Samson Q2U ($125)
This is both a USB and XLR cardioid dynamic microphone. It is less sensitive than the Blue Yeti or Rode NT -USB, blocking out significant background noise and it mainly picks up sound directly in front of it.
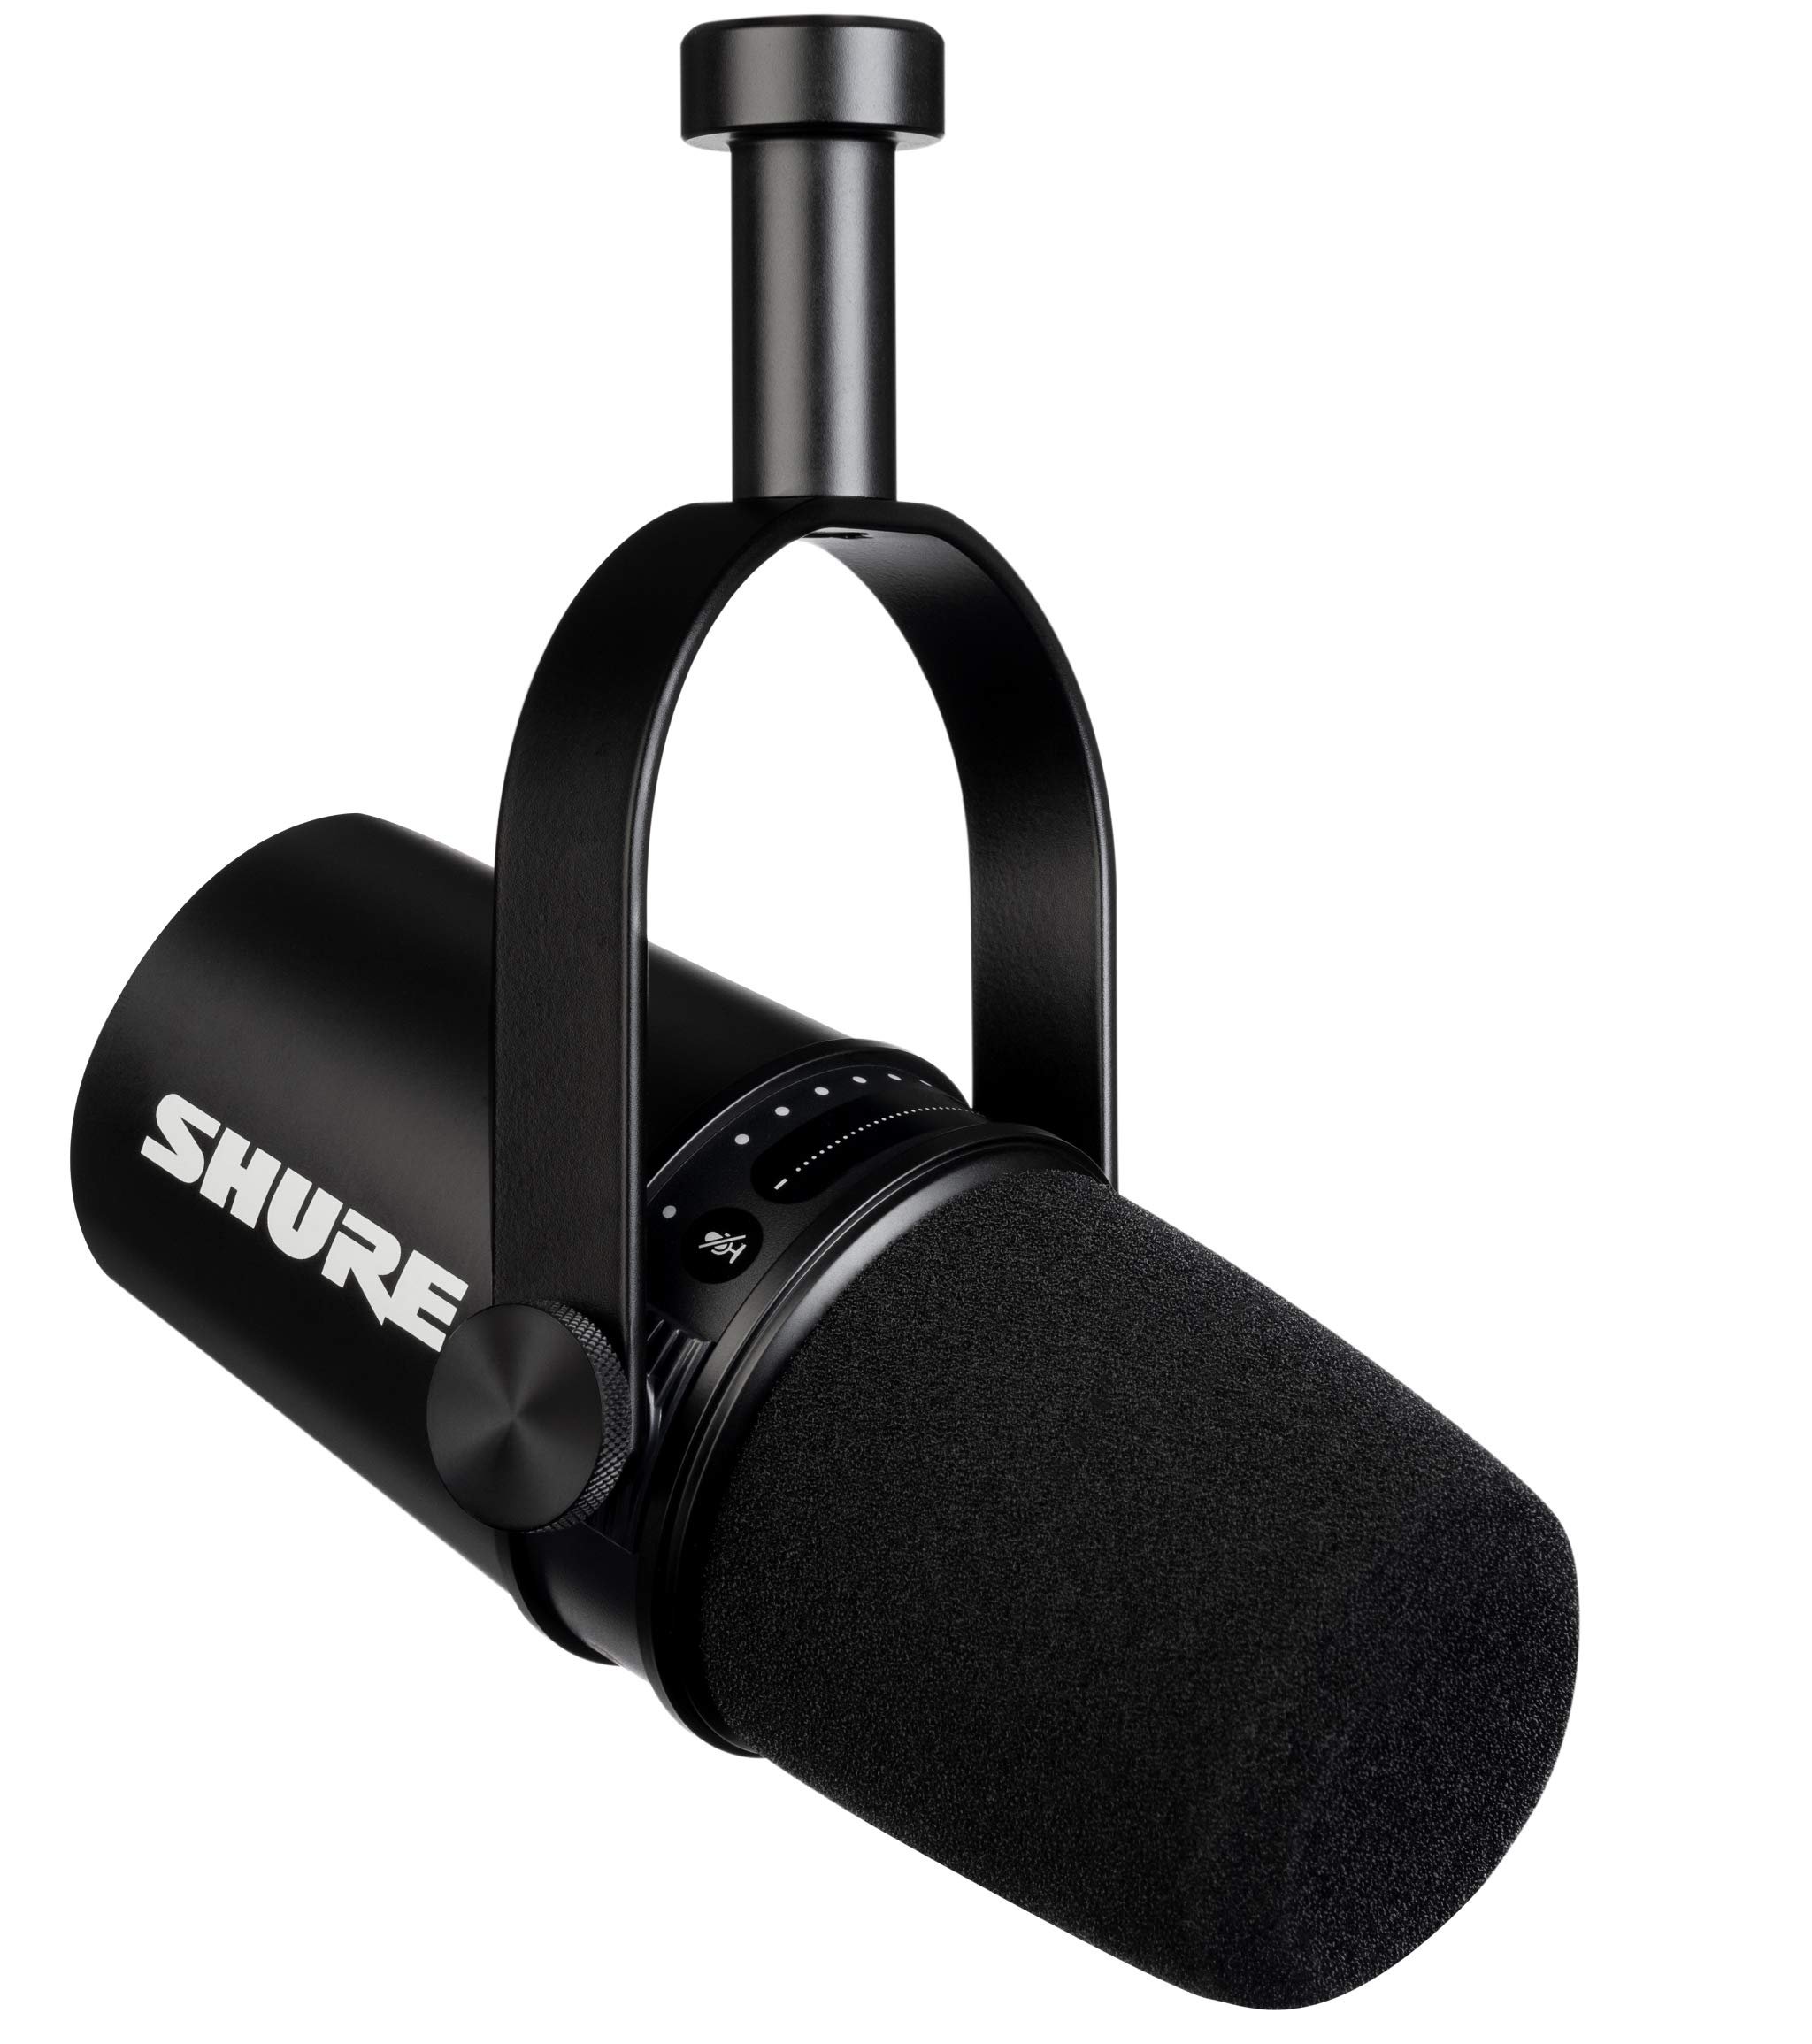
Shure MV7 ($300)
This is an increasingly popular choice among podcast professionals. It’s a more affordable option to Shure’s legendary SM7B, on which it’s based. This USB/XLR dynamic mic comes with an easy-to-use app. It’s used by the likes of Jo Rogan and yours truly.

Rode NT-USB ($215)
This is a studio-quality condenser USB microphone. It plugs straight into your computer and is very easy to use. I rate it slightly above the more ubiquitous Blue Yeti, for its ease of use and slightly better quality.
A little bit about Condenser vs. Dynamic microphones
Unless your room is treated like a studio (i.e., completely silent, well cushioned to eliminate echoes and reverb), I’d recommend a dynamic microphone over a condenser. A condenser mic is more sensitive and picks up every little noise in the room; whereas a dynamic microphone is cardioid or unidirectional, in other words it picks up the sound sent in its direction.
headphones
A good set of quality headphones is important in recording a podcast, so that you can monitor the audio quality of both you and your guest. Choose a pair that covers your whole ears, so as to eliminate any sound that seeps out from your guest’s voice into your microphone.
Do NOT ever use wireless headphones. There are often issues with audio jumping, and you don’t get a true listening experience as you would with corded headphones.
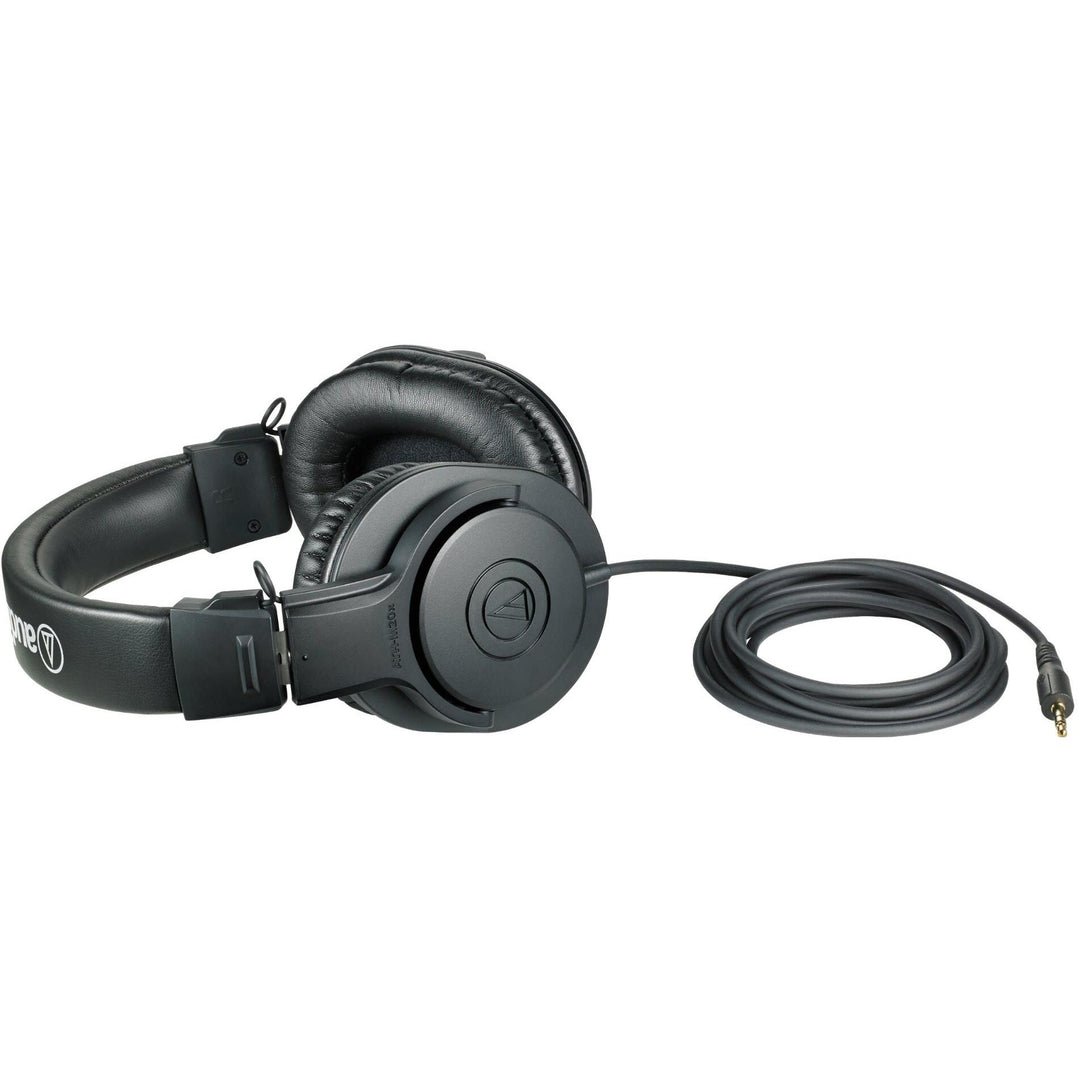
Audio-Technica ATH-M20x ($89)
It covers your ears, so eliminates seepage of audio. It’s durable and comfortable.
MICROPHONE STANDS
The microphones I recommend come with their own microphone stands (except the Shure Mv7). But, I find that they are too small, too plasticky, and too flimsy. If you bump the table, they’ll pick up the noise. Instead invest in a sturdy stand or a boom arm.
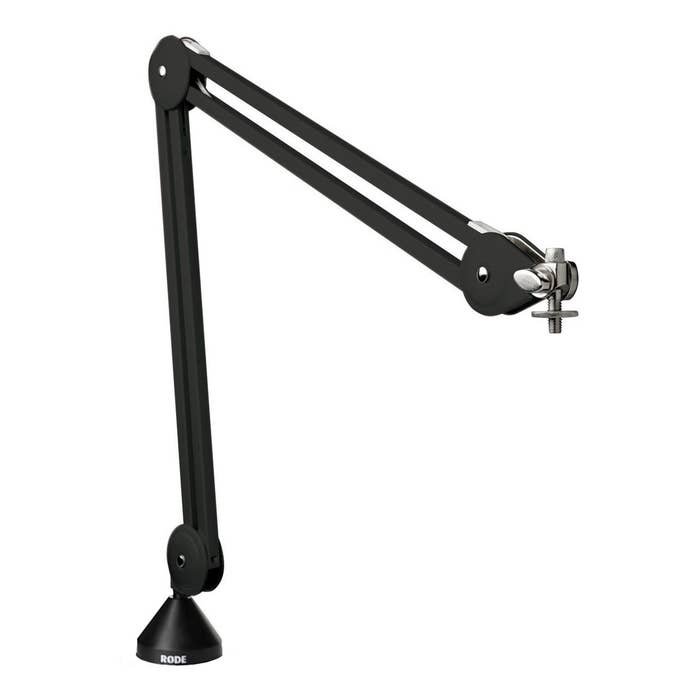
Rode PSA1 Professional Studio Boom Arm ($150)
A “boom arm” will allow you to adjust the height of the mic … and it looks cooler! It’s not as portable and would ideally be used for a room which is used only for podcasting so you can leave it there.
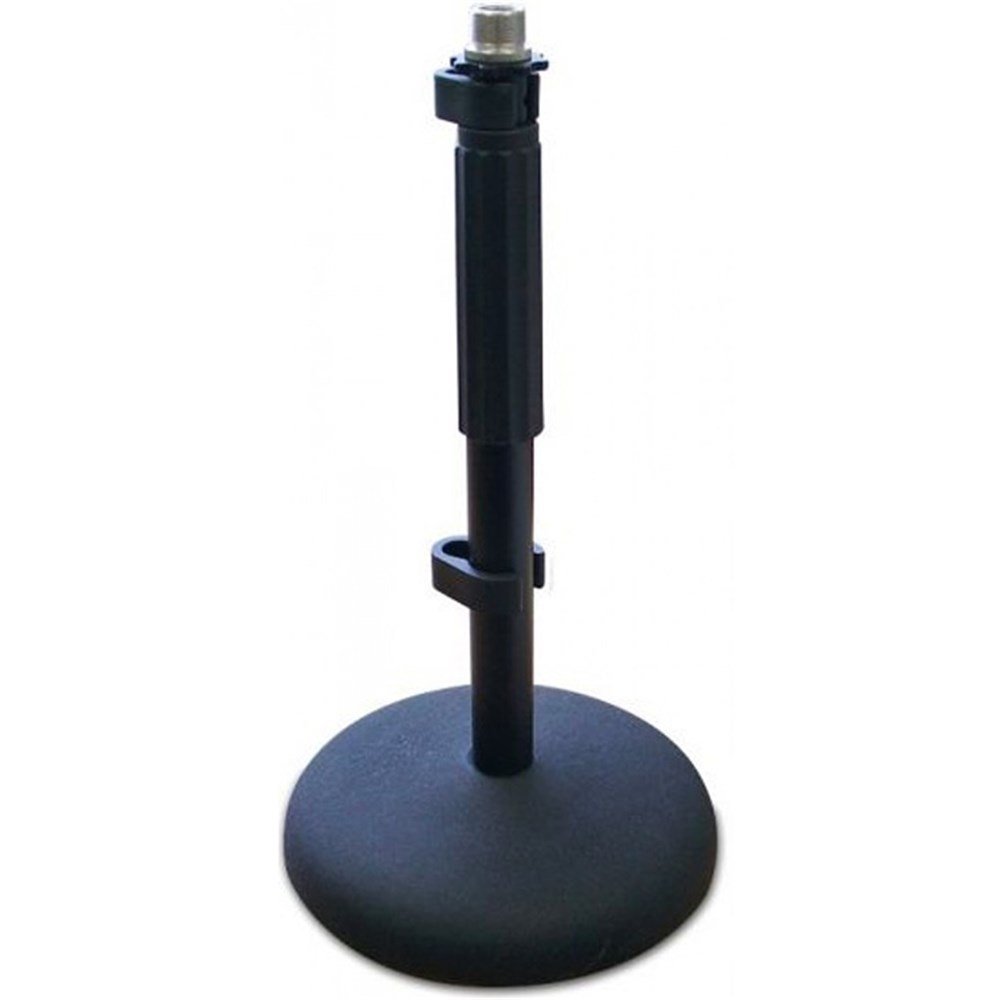
Rode DS1 Desktop Stand ($29)
A much cheaper and more portable alternative is a desktop stand. It doesn’t take up so much room and can be stored away after use. You can adjust the height and it’s quite heavy and sturdy for its size.
RECORDING SOFTWARE
Recording software technology has improved immensely in recent years. Unfortunately, most people still rely on Zoom or Skype to record. The quality of the recording, at least right now, is not anywhere good enough for a professional sounding podcast. They record directly to the cloud, which results in glitchy recordings.
Whereas, SquadCast.fm and Riverside.fm record locally and then, once the interview is over, the audio tracks are sent to the cloud. The means the audio (and video, if you choose) can be recorded at studio quality, depending on yours and your guests microphones of course.
SquadCast.fm
SquadCast is easy to use for both the host and the guest. Simply send the guest a link. The link will bring them to a green room, in which they adjust their equipment and get ready for the interview. Like Zoom, there is a video, but the video is not recorded (unless you pay extra and want to).
Prices start from $US10 a month for two hours recording.
Riverside.fm
Riverside works in almost the same way as SquadCast. I use both platforms and am comfortable with either. Prices start at $US15 a month for five hours recording.
YOUR ROOM IS IMPORTANT
Having the right equipment is one thing. But, it can be all for nought if you the environment you record in isn’t optimised. To ensure you record at the highest possible quality, it’s important to treat your room like a recording studio.
The same goes with your guest!
Ensure you have:
A small, quiet room. (Large rooms sound cavernous – they can add reverb to your voice.)
Carpet flooring
Heavily furniture room will absorb the sound, or
Closed blinds or curtains, or
Acoustic foam panels you can buy at music stores or DJCity
While recording, make sure to:
Turn off aircon/heating if possible
Turn off smart phones and other electronic devices
Close emails and other apps which might “ding”
Eliminate or reduce other sounds, footsteps, people talking in the corridors or next room, the hum of fridges, ticking clock, etc.
That’s it! Any questions – please drop me a line. Happy to discuss.